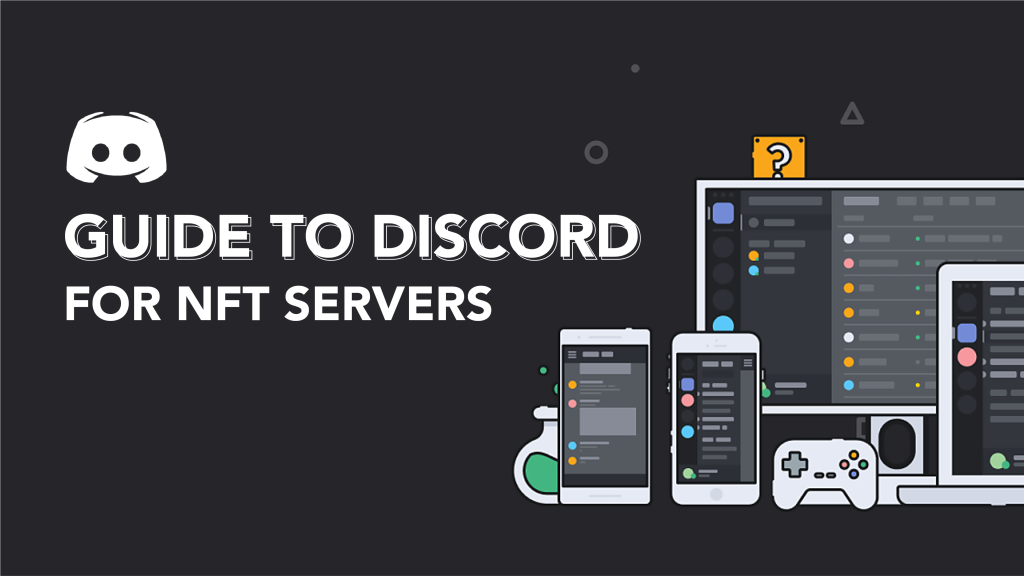
If you’re new to the world of cryptocurrencies and NFTs, you’re very likely to encounter projects that encourage you to join their Discord servers. Unlike other messaging and communication platforms, however, Discord can be a little disorienting for the unacquainted.
So to help you along and familiarize yourself with Discord, here’s a quick guide to using the platform.
Creating An Account
If you have yet to create an account on Discord, this is where you’ll begin.
Head over to discord.com, App Store or Google Play store where you can download the app on your operating system.
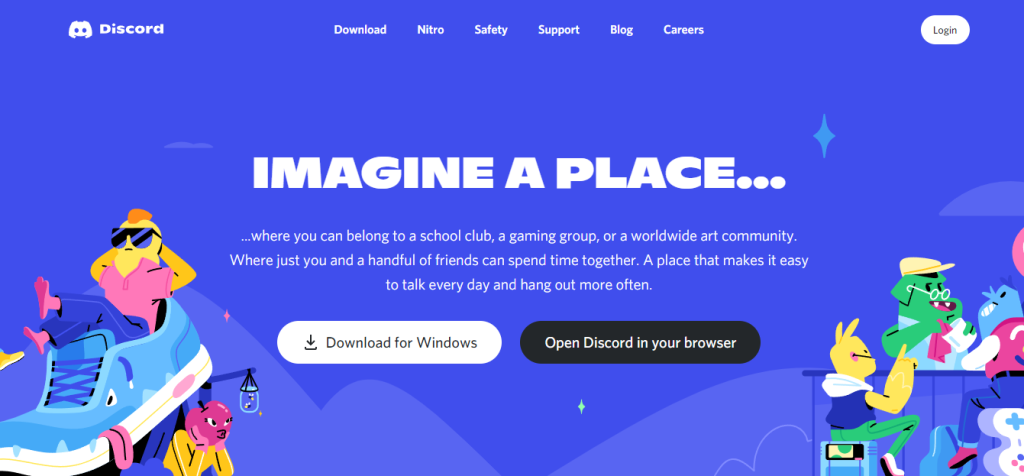
Pro tip: Personally, I would recommend setting this up on your phone first as you’ll be able to login to the Windows or Mac app via QR code.
Once you’ve created your account, take note of your account ID, which will be your ID of choice along with a # and a set of four numbers behind it (e.g. randomdude#1234).
If you’re signing up for NFT whitelists, most projects require you to provide your ID alongside a wallet address.
Joining A Server
When you click on the Discord icon on the website of an NFT project or coin, you’ll be redirected to the Discord server of that project.
Pro tip: Make sure to open and login to your Discord app on Windows and Mac to be redirected directly to the app (from experience, it doesn’t open the app if it’s closed).
A server is essentially the main hub of that particular project. Your list of servers will appear on the left most side of your screen.
You can rearrange the order of your servers by dragging the server icon to your desired location.
Unlocking Your Permissions On A Server
This is where most people are stumped when they first join a server!
If you join a server and realise that it’s empty or quiet, there are most likely a few additional steps you’ll need to take before you can proceed.
To prevent spam and bots on a server, some projects require you to agree to their rules before you can access their channels (channels are subpages under a server – we’ll get to that in a bit).
Some gateways are simple, such as clicking on an emoji option (often in the form of a tick or a check mark ✔️ with a number next to it).
Other servers however might implement a terms and conditions pop up, where you’ll need to click a checkbox and a submit button to gain access.
Once you’ve done that, you’ll start to see channels and chats appear.
Channels
Channels are subpages under a particular server. There are two types of channels: text channels and voice channels.
Text channels are usually indicated by a hash icon (#) and voice channels are indicated by a voice icon.
Some text channels are one way, used for project teams to broadcast announcements, indicate rules or provide links and resources. Chat bars on one-way channels will be indicated by the message “You do not have permission to send messages in this channel.”
Two-way, on the other hand, channels allow users to communicate and ask questions. You will be able to type messages using the chat bar.
The + icon on the left side of the chat bar will allow you attach files such as images (like showing off your JPEGs). Buttons on the right hand side will allow you to send GIFs, emojis and stickers.
The “gift box” icon requires a Discord Nitro subscription, which is a premium service that allows you to upgrade emojis, use an animated avatar as a profile picture, upload bigger files up to 100MB and more for $9.99 a month or $99.99 a year.

You can also use slash (/) commands for specific functions on the chat or to interact with server bots (you’ll see a list of commands when you type “/”).
Do make sure you use the appropriate text channels when you communicate on these channels as some moderators may ban you if you fail to abide by the channel descriptions. For instance, general chats tend to be for general questions while some channels are specific for minting inquiries. Some channels are also simply for saying “gm” in the morning. Stick to the rules!
Voice channels, on the other hand, allow you to communicate with others on the server via voice and video chat. If enabled, you will also be able to stream your screen.
To use voice channels, simple click on the name of the channel and you’ll be connected once your status (on the bottom left) turns green.
To leave the channel, simply click on the rightmost button (of the picture above), depicted as a phone and an X.
Other buttons include muting yourself, muting the channel and settings.
The microphone icon mutes your mic, the headphones icon mutes the server and your mic, while the gear icon brings you to the settings page.
Pro tip: You can individually adjust the volume of every individual speaker on a voice channel by right clicking on their name and dragging their volume.
Users Roles and The Community
On the right side of your screen, you’ll see the list of users on the server. Most projects will have special categories to indicate bots (used to help moderate channels, provide stats, make announcements and more) and also users of different user roles based on their involvement in the channel.
Some projects, for instance, encourage users to interact with the community by giving them levels or roles for either completing specific tasks, the number of interactions they make on the server or generally for being active.
This may also be a prerequisite for selecting users to include in a whitelist for NFT mints.
Beyond the list, roles may also be indicated by an additional icon to a user’s name when they interact on text channels.
You can also view a user’s roles by clicking on their name.
The right column may also indicate who the server owner is, the moderators and admins.
Pro tip: It is strongly frowned upon to use this list to DM anyone from a server, though. If you have questions, there’s usually a text channel to open a support ticket or to ask general questions, so be sure to use that instead.
